Electronics Installation and Operating Manuals
TK, TD, TX, and CC Audio Systems with or without iComm
Materials list:
You should have received the following items.
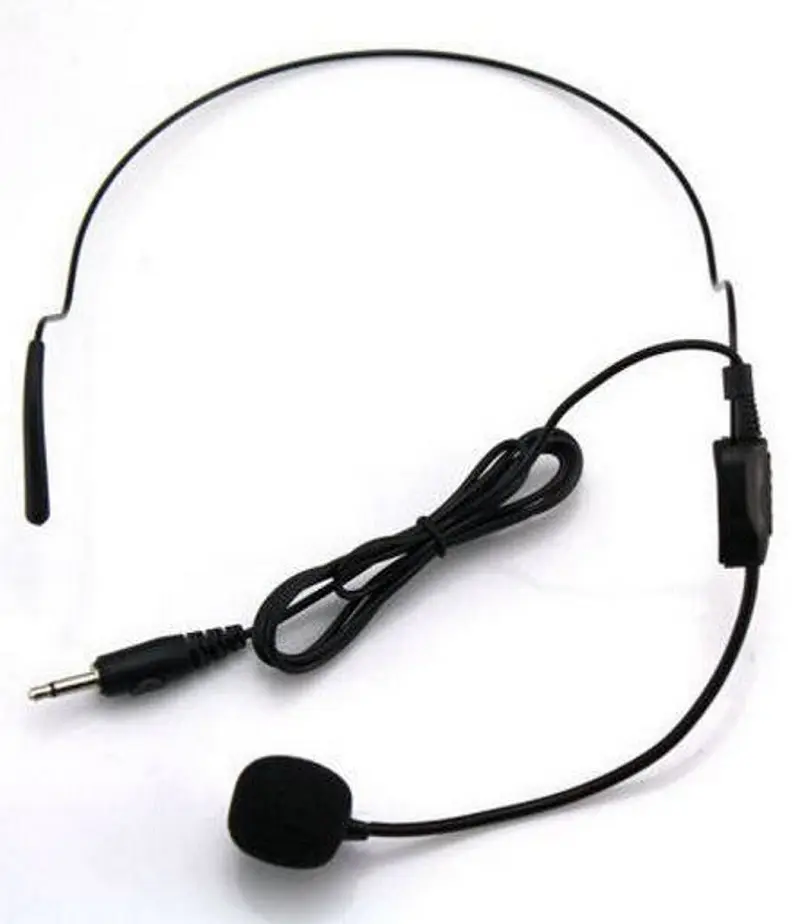
(2) Hovi Tips (aerators) with speakers, harness, and JST male connectors, (1) “Y” adapter cable with JST female and 3.5 mm audio connectors, (1) Amplifier, (1) Amplifier wall charger, (1) Omnidirectional Microphone, (2) Sealing tape - Clone Commander only.
Installation Instructions
Additional Information
If you purchased a kit with the iComm, a PTT (Push To Talk) cable has also been provided. The PTT cable allows you to have control over your mic input. To operate, simply install the PTT cable (3.5mm jack) into the iComm “PTT” port. Turn on your amp. When the sleeved end is depressed, the mic will pick up and transmit sound. When released, the mic will not transmit.
The “AUX” port on the amplifier is for audio input. If you have an MP3 player (or another compatible device) capable of exporting audio, just into the AUX port via a 3.5mm male connector (not provided) and play music or TK chatter (found on the 501st website) through the Hovi Tips. Note: You'll have to have the PTT cable installed to prevent your imported audio from interrupting your voice.
NOTE: Like many other sound systems, the Hovi Speaker System is sensitive and is prone to feedback “screeching,” especially if the amp power is turned up too loud or there's not enough insulation between the Hovi tips and the microphone. Also, depending on the tone of your voice, you may have to remove the mic sock for the system to be loud enough yet not have feedback.
If you have further questions, please contact me at
First Order TK Audio System
Materials list:
You should have received the following items.
Amplifier (1), Speakers with harness and connectors (2), “Y” cable (1), Speaker cloth (1), Omnidirectional Microphone (1), Rectangular insulating foam (2), Square insulating foam (1), Rectangular foam speaker risers (hollow in the middle) (2) Note: Only needed with the Anovos injection molded helmets
Installation Instructions
Anovos injection molded helmets
Once the above is completed, go to step 10.
All other helmets
NOTE: If you have the Anovos fiberglass helmet, pull back the material exposing the tube vent holes, then continue.
Electrical Connections
Set up & Operation


Additional Information
As mentioned above, using Velcro to secure the amplifier to the inside of your helmet is recommended but completely up to you.
The omni mic can be placed on your head, or you can use Velcro or others to secure it to the inside of the helmet. Regardless of the mounting position, the mic itself needs to be positioned close to your mouth for optimum operation and to help avoid feedback issues.
Anovos fiberglass helmets with insulation. After setup, re-secure (glue) helmet insulation back to the helmet, if applicable.
The “AUX” port on the amplifier is for audio input. If you have an MP3 player (or other compatible device), you can plug it into this port via a 3.5 mm male connector (not provided). Afterward, you can play music, TK chatter (contact me for files), or other audio through the audio system.
NOTE:
Like many other sound systems, the audio system is sensitive and is prone to feedback “screeching,” especially if the amp power is turned up too loud or there's not enough insulation between the speakers and the microphone. Also, depending on the tone of your voice, you may have to remove the mic sock to increase the output capability. If you still continue to have some feedback issues, add more insulation to the speakers, or your volume level may be too loud. If you have further questions regarding this please contact me at
Biker Scout & Shore Trooper Audio System
Materials List:
You should have received the following items.
Helmet Snout with speaker and harness (1), Amplifier with wall charger (1ea), Extension cable (1), Omnidirectional Microphone (1)
Installation Instructions
Additional Information
The “AUX” port on the amplifier is for audio input. If you have an MP3 player (or other compatible device), you can plug it into this port via a 3.5 mm male connector (not provided). Afterward, you can play music, TB chatter (found on the 501st website), or other audio through the audio system.
NOTE:
Like many other sound systems, the audio system is sensitive and is prone to feedback “screeching,” especially if the amp power is turned up too loud or there's not enough insulation between the speaker and the microphone. Also, depending on the tone of your voice, you may have to remove the mic sock to increase the output capability. If you still continue to have some feedback issues, add more insulation to the front of the helmet speaker, or your volume level may be too loud.
If you have further questions, please contact me at
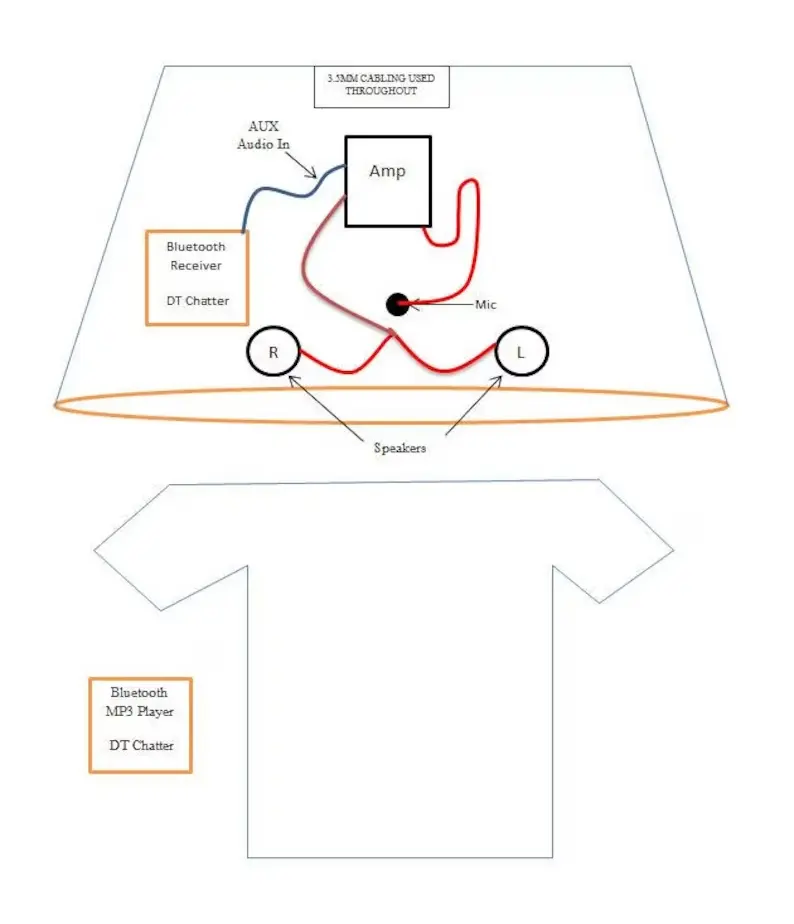
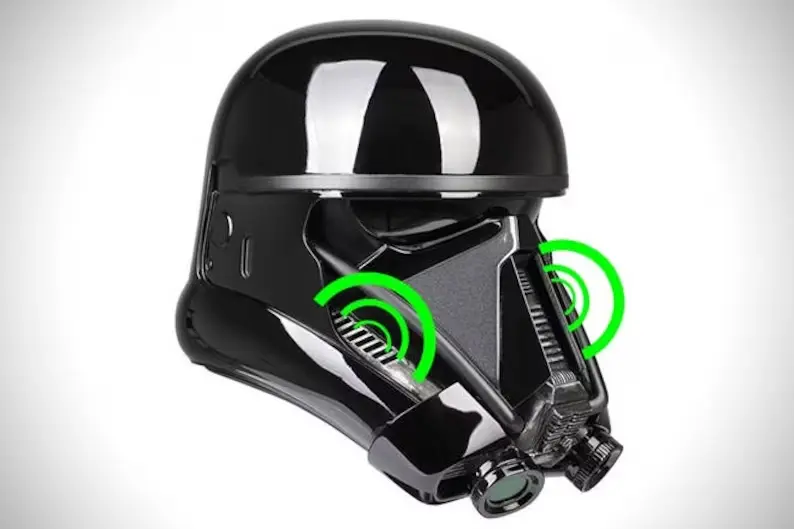
Death Trooper Audio System
Materials list:
You should have received the following items.
Installation Instructions
NOTE: The helmet MUST be free of dust, oils, etc., for adhesive-backed items to stick to the helmet.
NOTE: Test the system before continuing.
Installation Continued
That's it! Velcro, all your items are in place, and you should be good to go. Enjoy!


Additional Information
The audio receiver and MP3 player have been fully charged before shipping, and manuals have been included. If you have any issues with either, refer to the manuals. If you're still not having any luck, contact me at
Cooling System
Depending on what kit you purchased, you should have received one or more of the following items.
Option Accessories
Installation and Operation
V1
V2
V3 – Power harness
Battery Box
Harness “B”
Harness “B” has an additional JST connector, enabling the user to disconnect the 48” optional harness with an on/off switch from the power harness.
If you have further questions, please contact me at
SHA (Stormtrooper Hearing Assist)
Depending on what kit you've purchased, you should have received one or more of the following items.

Installation
Install pickup microphones (These are the small silver devices at the end of the cables)
Mount SHA PCB (5v and 9v)
Speakers (If equipped)
Earbuds (Not provided or sold)
Connecting power supplies and checking operations
Adjust volume
If you have further questions, please contact me at ukswraths.speciality@gmail.com or on Discord.
